How to Expertly Shape Your Eyebrows at Home, According to a Celeb Brow Artist
Take it from someone who used to have eyebrows roughly half the thickness of my current set—the thought of grooming and shaping your eyebrows at home can be daunting. Scarred by my history of overplucking, for the past few years, I've left every iota of brow maintenance to the professionals. Unless a stray hair is quite literally a full centimeter away from the rest of my brow, I refuse to touch it for fear that I simply won't be able to stop plucking once I get started. (Grabbing a pair of tweezers used to be my main coping mechanism for anxiety.) Therefore, you can imagine the precariousness of my brows' fate now that we've been at home for weeks. My last brow appointment was a haunting number of months ago. My arches are starting to look a little crazy, and I've been oh so tempted but oh so hesitant to reach for my kit of brow-grooming tools.

The brilliant solution? Why not let one of our favorite brow experts in Los Angeles, Stevi Christine, guide us through the at-home shaping process? Since almost everyone we've spoken to recently has expressed concern about the state of their brows, we asked Christine to film an easy-to-follow brow-grooming tutorial for Who What Wear's IGTV, which I'm recapping below. From her best tips to the must-have products she swears by, follow along below to learn how to shape your eyebrows at home with expert-level prowess. Keep scrolling!
Step 1: Fill In Your Brows
We get it—filling in your brows before you start tweezing might sound counterintuitive, but there's some serious strategy involved. According to Christine, if you start tweezing your brows when they're bare and in their most natural (and thinnest) state, you're far more likely to over-tweeze and skim off the hairs that normally wouldn't bother you if you had filled them in. (FYI, said skimming is pretty much the last thing you want to do, especially if you're in the process of trying to grow out your brows.)
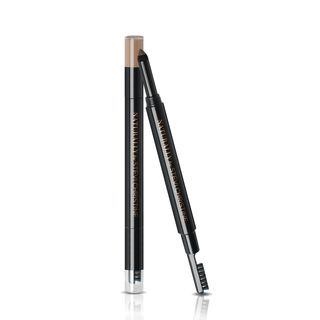
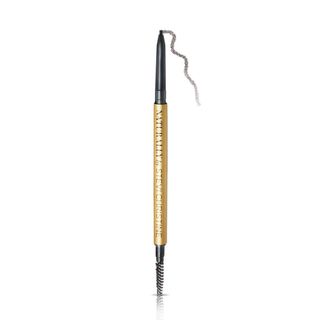
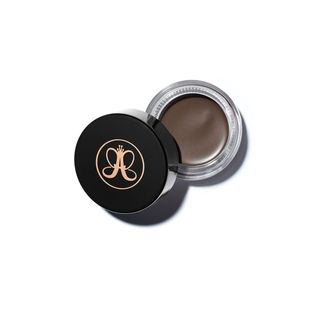
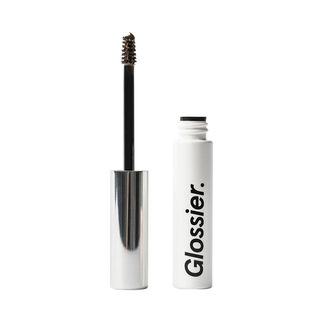
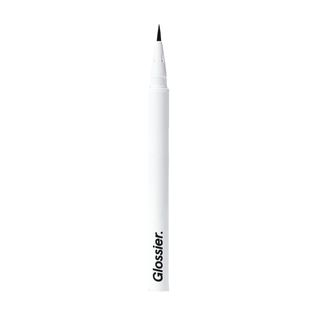
According to Christine, you're essentially going to fill your brows to the shape and thickness you'd ideally want them to be, and you can use any type of brow product you feel comfortable with—from a pencil or gel to a pomade or powder. She recommends starting the fill-in process at the arch and just lightly touching up any other spots that are sparse. You don't want to go too heavy at the beginning or tail end of your brows because it won't look natural.
Our product suggestions:
Step 2: Start Shaping Your Brows
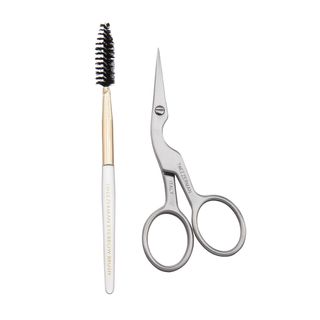
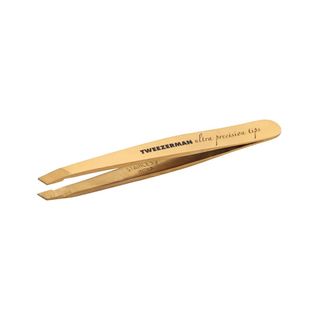
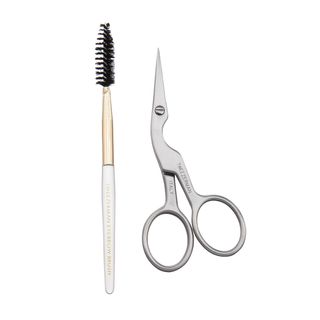
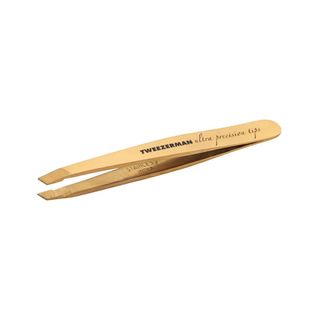
For shaping, you'll need to have a pair of tweezers and a spoolie on hand. If necessary, you might also need a pair of super-sharp brow scissors to trim, but since they can be tricky to use, Christine advises avoiding scissors unless you absolutely have to.
Start by brushing your brows up and into the direction/shape you want them to be in, and then start tweezing. Her expert tip: Don't go near your actual brow, and just tweeze the strays in between your two brows, any that extend way past the tail end of your brow, or anything that's near the crease of your eyelid. Less is more, and the best tweezing etiquette involves pulling your skin as taut as possible while you nick your strays. This helps you grab the hair right at the root for a quick, pain-free pull.
If you're not tinting your brows, congratulations, you're finished! Remember, if you have thinner brows, you should really fill in your brows in order to shape them instead of attempting to tweeze them in order to shape them. Looking to tint your brows at home? Keep scrolling!
Our product suggestions:
Step 3 (Optional): Tint Your Brows
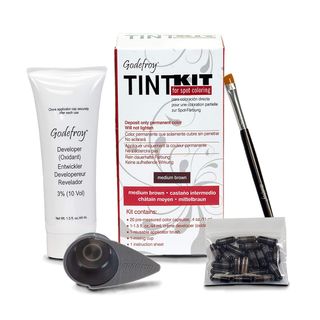
Christine says there a number of different tinting kits on the market that you can use (she loves the one linked below), and she prefers this kind of kit because it has everything you'll need to execute the process relatively easily at home.
Before you start tinting, pull your hair completely back from your face, and make sure your entire complexion and brow area are thoroughly cleansed. Feel free to also wear gloves or dirty clothes you don't care about. (It might get messy!) Once you're set, start mixing your solution, and follow the directions on the box to a T.
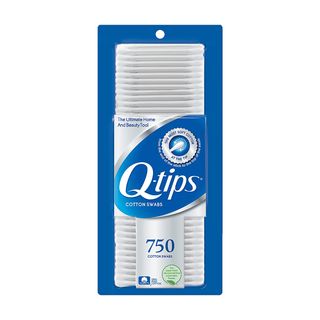
Next, brush your brow hairs in the direction you want them to lie with your spoolie brush, and then start painting on the tint, using a damp Q-tip to clean up any areas where it drips or you've been too heavy-handed. Christine recommends starting your tint application at the outer part of your brow first (from the arch to the tail) on both sides before adding the tint to the start of your brows. Once the ends are done, then go ahead and lightly add tint to those front parts. Grab another clean, damp Q-tip, and really clean up the area outside of the brow. (Remember, it's a dye, and you're not trying to tint anywhere around the brow except where you're faking the look of hair.)
Our product suggestions:
Step 4: Remove the Tint, Clean, and Shape
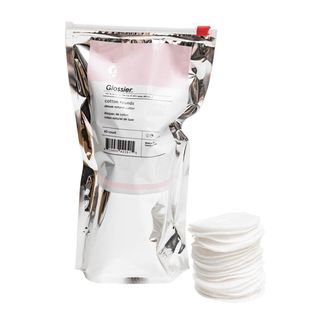
Simple enough. Use a clean cotton pad or cloth to remove the tint after the specific time outlined in the directions of your kit. (Hint: It won't be long!) Then, since you're likely to require a little bit of clean-up, you'll grab the same tools you used before—tweezers, a spoolie brush, and (potentially) brow scissors for trimming.
Christine's top tip? Make sure you're tweezing your brow hairs one by one, and take the time to step back from and then back up to the mirror to ensure you're not just taking stock of your brow shape ultra-up close which can distort the overall appearance of your brow and potentially cause an over-tweeze. Which, again, is what we're trying to avoid here!
If you're using scissors to trim your brows, follow Christine's expert protocol and start by using your spoolie brush to comb your brow hairs up and into the natural shape and direction in which they'll lie. Then, using your spoolie to lightly press and hold the brows up, take your scissors and, one by one, trim. This is not a mass exodus, folks. Trim one by one. Also, if you're ever unsure whether you should tweeze or trim a hair, abide by Christine's advice and just don't. Less is more, and when it comes to shaping your eyebrows at home, it's always better to be safe than sorry.
Our product suggestions:
Up next, 7 Pillars of Fantastic Eyebrows, According to the Most Sought-After Brow Artists
Erin has been writing a mix of beauty and wellness content for Who What Wear for over four years. Prior to that, she spent two and half years writing for Byrdie. She now calls Santa Monica home but grew up in Minnetonka, Minnesota, and studied writing, rhetoric, and communication at University of Wisconsin, La Crosse. She studied abroad in Galway, Ireland, and spent a summer in L.A. interning with the Byrdie and Who What Wear family. After graduating from UW, she spent one year in San Francisco, where she worked as a writer for Pottery Barn Kids and PBteen before moving down to L.A. to begin her career as a beauty editor. She considers her day-to-day beauty aesthetic very low-maintenance and relies on staples like clear brow serum (from Kimiko!), Lawless's Lip Plumping Mask in Cherry Vanilla, and an eyelash curler. For special occasions or days when she's taking more meetings or has an event, she'll wear anything and everything from Charlotte Tilbury (the foundations are game-changing), some shimmer on her lids (Stila and Róen do it best), and a few coats of the best mascara-type product on earth, Surratt's Noir Lash Tint.
